
System Integration

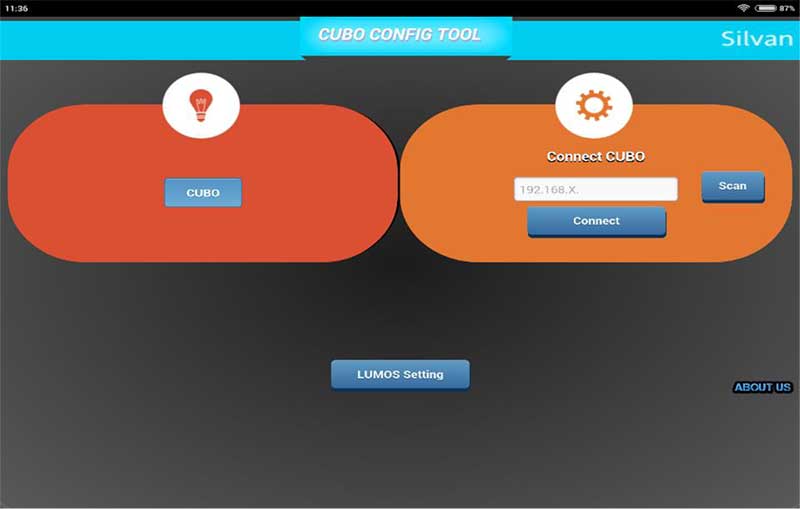
- Once the LUMOS configuration is done, go to Home page on the App.
- Key in the CUBO IP address, which was configured in earlier steps and click Connect.
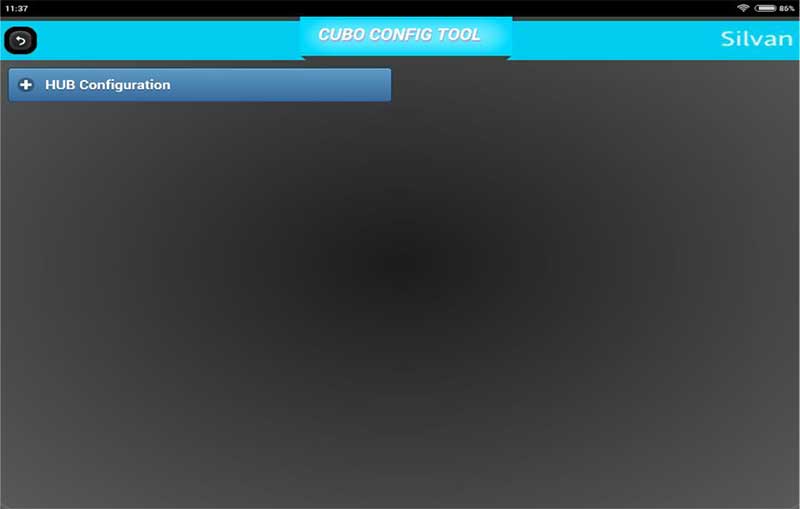
- Click on “HUB Configuration”.

- Click on GUI Configuration.
- Click on Area Configuration
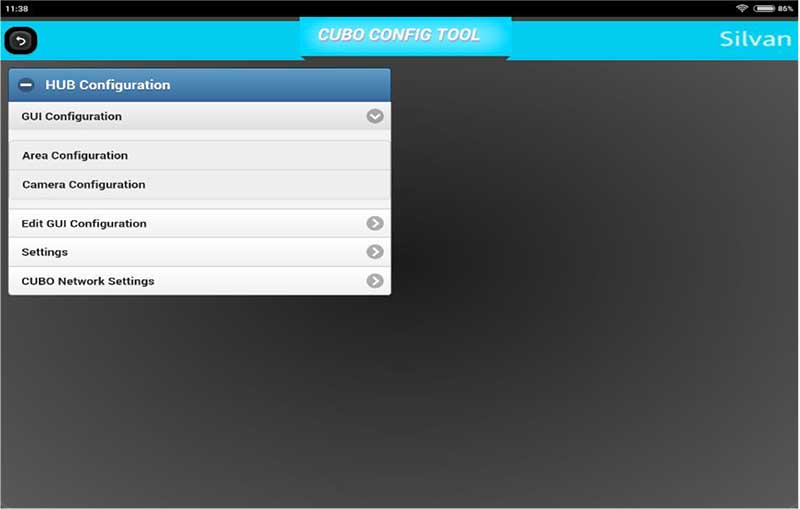
- In area configuration we can configure the LUMOS using MAC ID
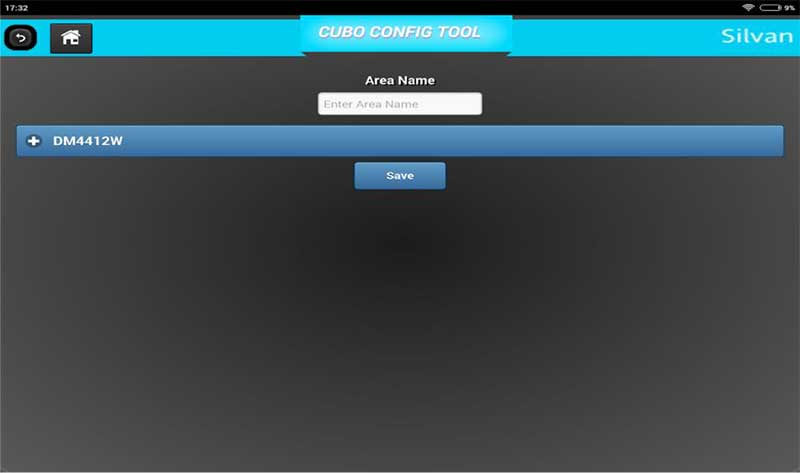
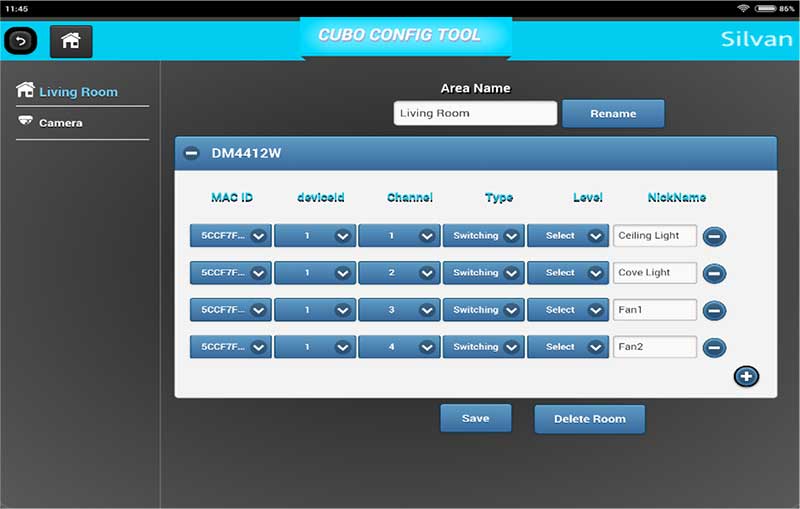
Steps to Configure Areas
- Mention the area being configured under Area name tab
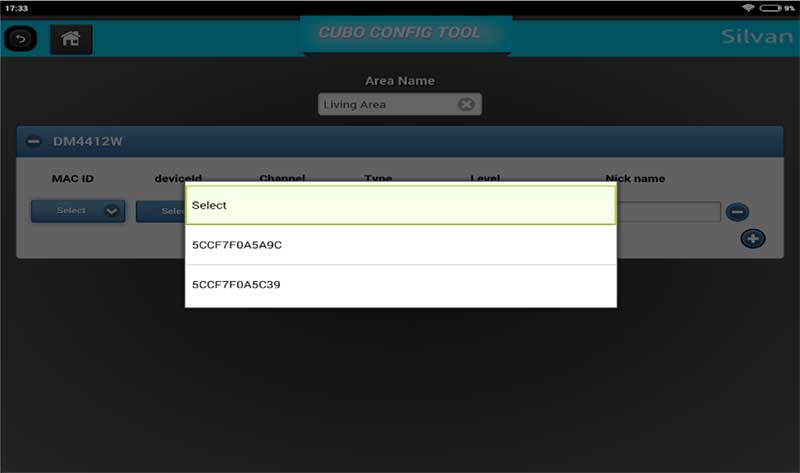
- Select MAC ID (for that area) from drop down box.
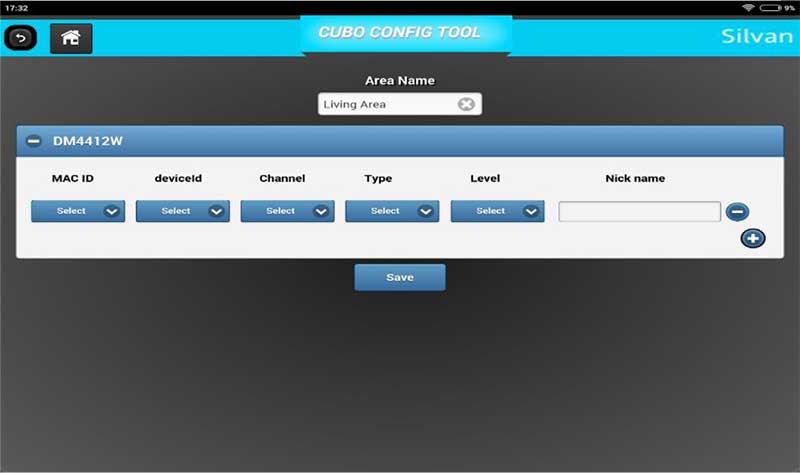
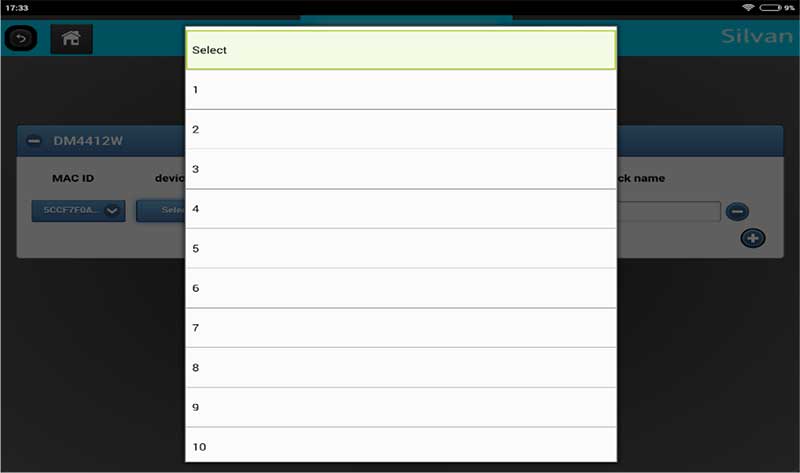
- Select the device ID from device drop-down box. (each individual LUMOS will be given separate device ID).
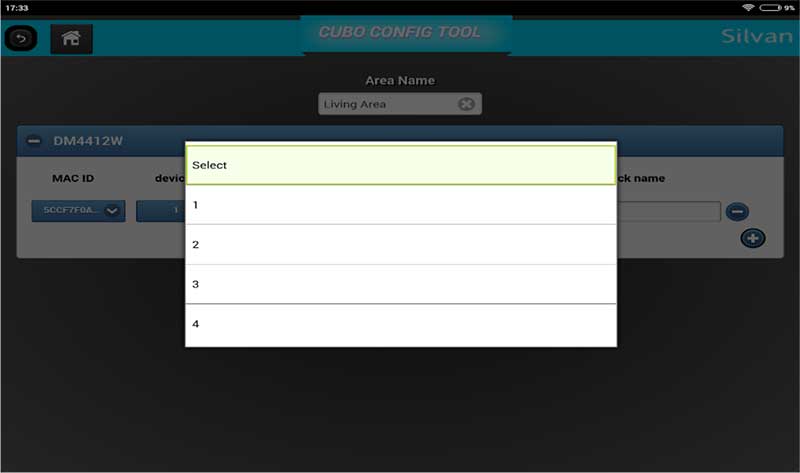
- Select the device Channel from drop down box.
- Then select type as Switching/Dimming from drop down box.
- Select level (only for dimming devices).
- Select level (only for dimming devices).


- Give the desired names for each channel.
- After configuring the system click on “Save” button.
- Same steps to be repeated for each Area one by one.

Edit Configuration Page
- Open CUBO Config Tool App.
- Click on Edit GUI Configuration tab.
- On the left side of the screen, list of configured areas’ names will appear.
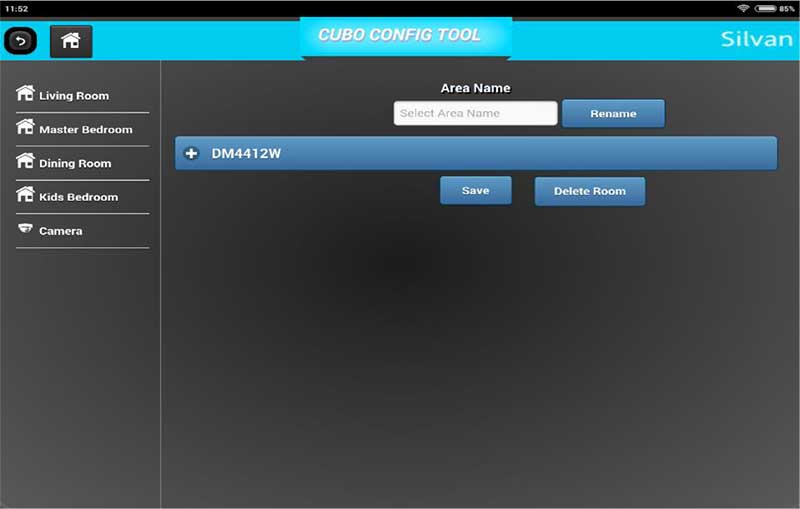
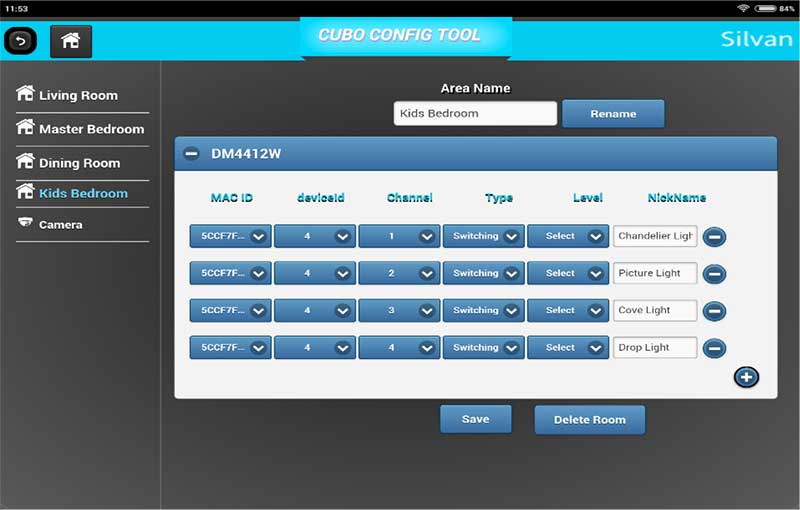
- Select the particular area to edit the configuration.
- To delete the complete room configuration, click on “Delete Room” button.
- To check the applied changes, refresh the page.
SMS and ID Configuration
- Open CUBO Config Tool App.
- Click on Settings tab.

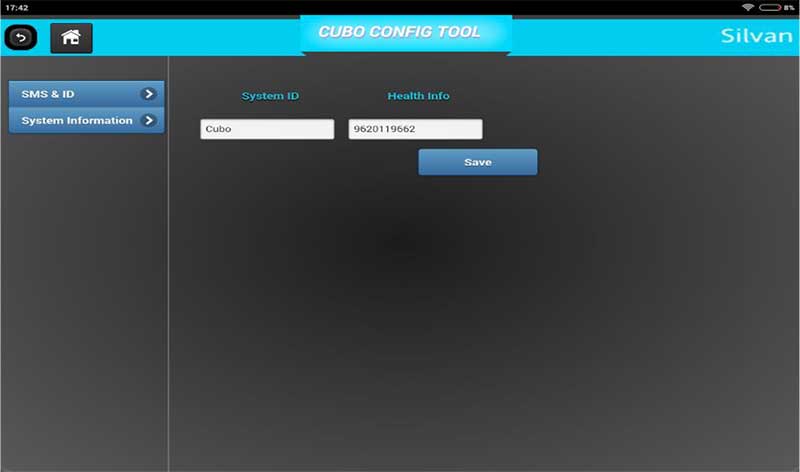
- Under SMS & ID Tab, we can see two fields – System ID and Health info.
- Health info mobile number is required to get the reboot and CUBO health check SMS.
- Click on save button, the information will be saved on the HUB.